Unfortunately there will be no more Saturday gardening. Hopefully evening and weekend times will resume in the spring.
As I am sure you can appreciate it is not the time of year for being out in the elements, so I am afraid The Back Garden will only be open weather permitting from now until the end of February.
Should you be passing and see signs of life please do pop in and say hello.
We hope you get through the winter warmly and the festivities festively; all the very best of wishes for the coming New Year.

Back Garden, 19-ish Brechin Street, Glasgow, G3 7HF Spring/Summer 2019 Opening Times: Wednesday 5-7pm; 2nd and Last Sunday of the month 12-2pm; All inquiries: g3growers@gmail.com
Tuesday 26 November 2013
Compost Care must be followed if we want the best quality for The Back Garden
COMPOST
CARE
When composting, take an
equal amount of Green
Materials (vegetable & plant) and Brown Materials
(shredded paper & card board), making
sure everything is broken up quite small.
Also remember to crush
up egg shells for addition.
When turning compost you
could use the rotavator, a fork or trowel; this can be quite messy.
NO Plastic, Avocado seeds,
Citrus or cooked food packaging to be added to the compost.
A plastic compost bin
remains for woodier waste.
Happy
Composting!
Thursday 24 October 2013
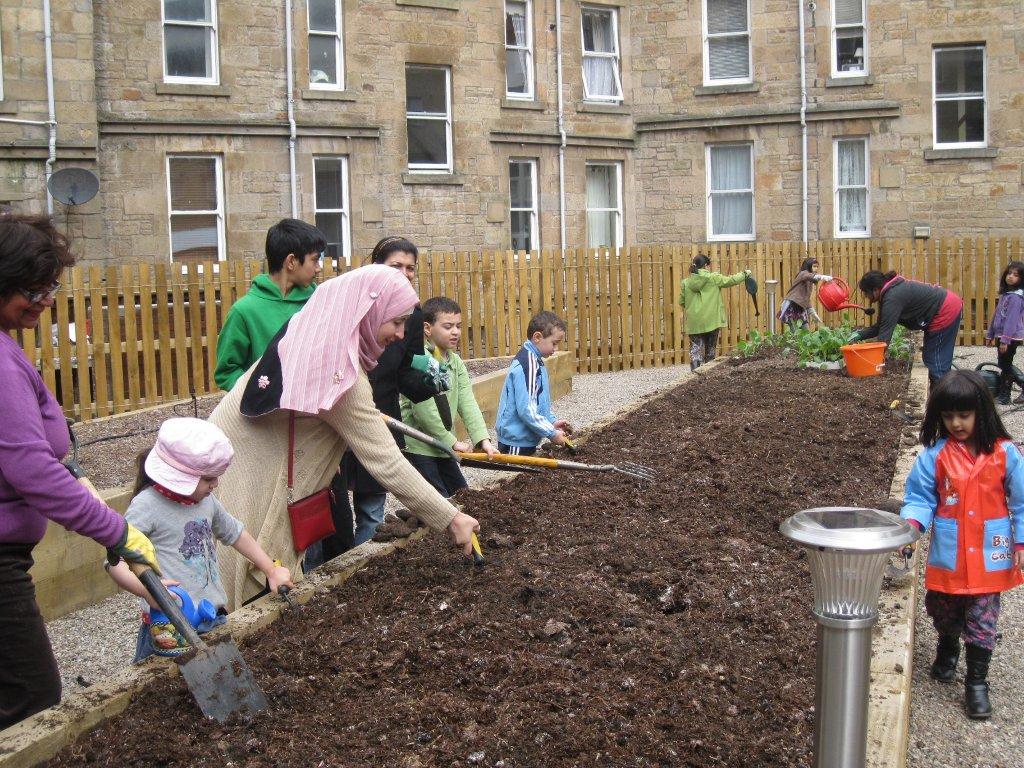
Back Garden - Autumn Cleanup Day
The annual garden cleanup is this Saturday, 26th October from 10 to 4.
We will be getting the garden in shape for the winter, as well as dealing with a large delivery of rock dust that we intend to spread over the garden.
There is still a decent amount of interesting produce and plants, so it's not all soap and dirt.
If you would like to come along, whether to lend a hand, say hello to most of the regulars, just have a look at the place or bring us some hot drinks to keep us going, you are very welcome.
Even if you just pop in for ten minutes we would be delighted to see you.
Monday 30 September 2013
Spring Onion Soup
The garden has produced lots of rather large spring onions this year, and one of them provides much more spring onion than I'm used to. However, I found this recipe for spring onion soup by Yotam Ottolenghi, and it's delicious as well as very easy. Even better, it can be made almost wholly from ingredients produced in the garden.
Raspberry Meringue Pie
Kirsty found this recipe from Delicious magazine, tried it out and wanted to share it with you all.
Raspberry
Meringue Pie
This
fabulous meringue pie recipe offers the essence of summer in every
mouthful. Use the freshest raspberries you can find.
Serves
8
Takes
50 minutes to make and about 35 minutes to bake, plus chilling and
cooling
INGREDIENTS
- 150g plain flour, plus extra to dust
- 25g caster sugar
- 75g butter, cubed and chilled
For
the raspberry filling
- 800g fresh raspberries
- 5 tbsp corn flour
- 100-125g golden caster sugar, to taste
- 60g butter
For
the meringue topping
- 175g golden caster sugar
METHOD
How to make raspberry meringue pie
1. Whizz
the flour, sugar and butter in a processor, until they resemble
crumbs. Add the yolk and 1 tablespoon cold water, then pulse until it
comes together to form a dough. Wrap in cling film and chill for 15
minutes.
2. Preheat
the oven to 190°C/fan170°C/gas 5. Roll out the pastry on a floured
surface and use to line a deep, 23cm fluted flan tin. Line with
baking paper and fill with baking beans or rice. Place on a baking
sheet and bake for 15 minutes. Remove the beans and paper and bake
for a further 10-12 minutes, or until dry and pale golden. Set aside
to cool. Reduce the oven temperature to 180°C/fan160°C/gas 4.
3. Make
the filling. Whizz the raspberries to a purée, then pass through a
sieve to remove the seeds - you should end up with 675ml-700ml purée.
Pour into a saucepan.
4. In
a bowl, mix the corn flour with 100g sugar, the lemon juice and 1
tablespoon water to give a paste. Stir into the purée, place over a
medium heat and cook, stirring, until just boiling. Cook for 1
minute, stirring continuously, until thickened. Taste and add the
extra sugar if the raspberries are too tart. Remove from the heat and
beat in the egg yolks and butter. Cool slightly, then pour into the
pastry case and chill for 30 minutes to firm up the filling.
5. Make
the topping. Whisk the egg whites to soft peaks in a large,
grease-free bowl. Gradually whisk in the sugar, until you have a
stiff, glossy meringue. Pile on top of the filling, swirling the
meringue with a palette knife to get craggy peaks. Bake for 8-10
minutes, or until the meringue is pale gold. Serve immediately.
Tip: This
is best served fresh from the oven, so the juice from the filling
doesn't soak into the crisp pastry shell.
©
delicious. magazine
Saturday 19 January 2013
The Back Garden, Poly-tunnel, & Greenhouse 2012


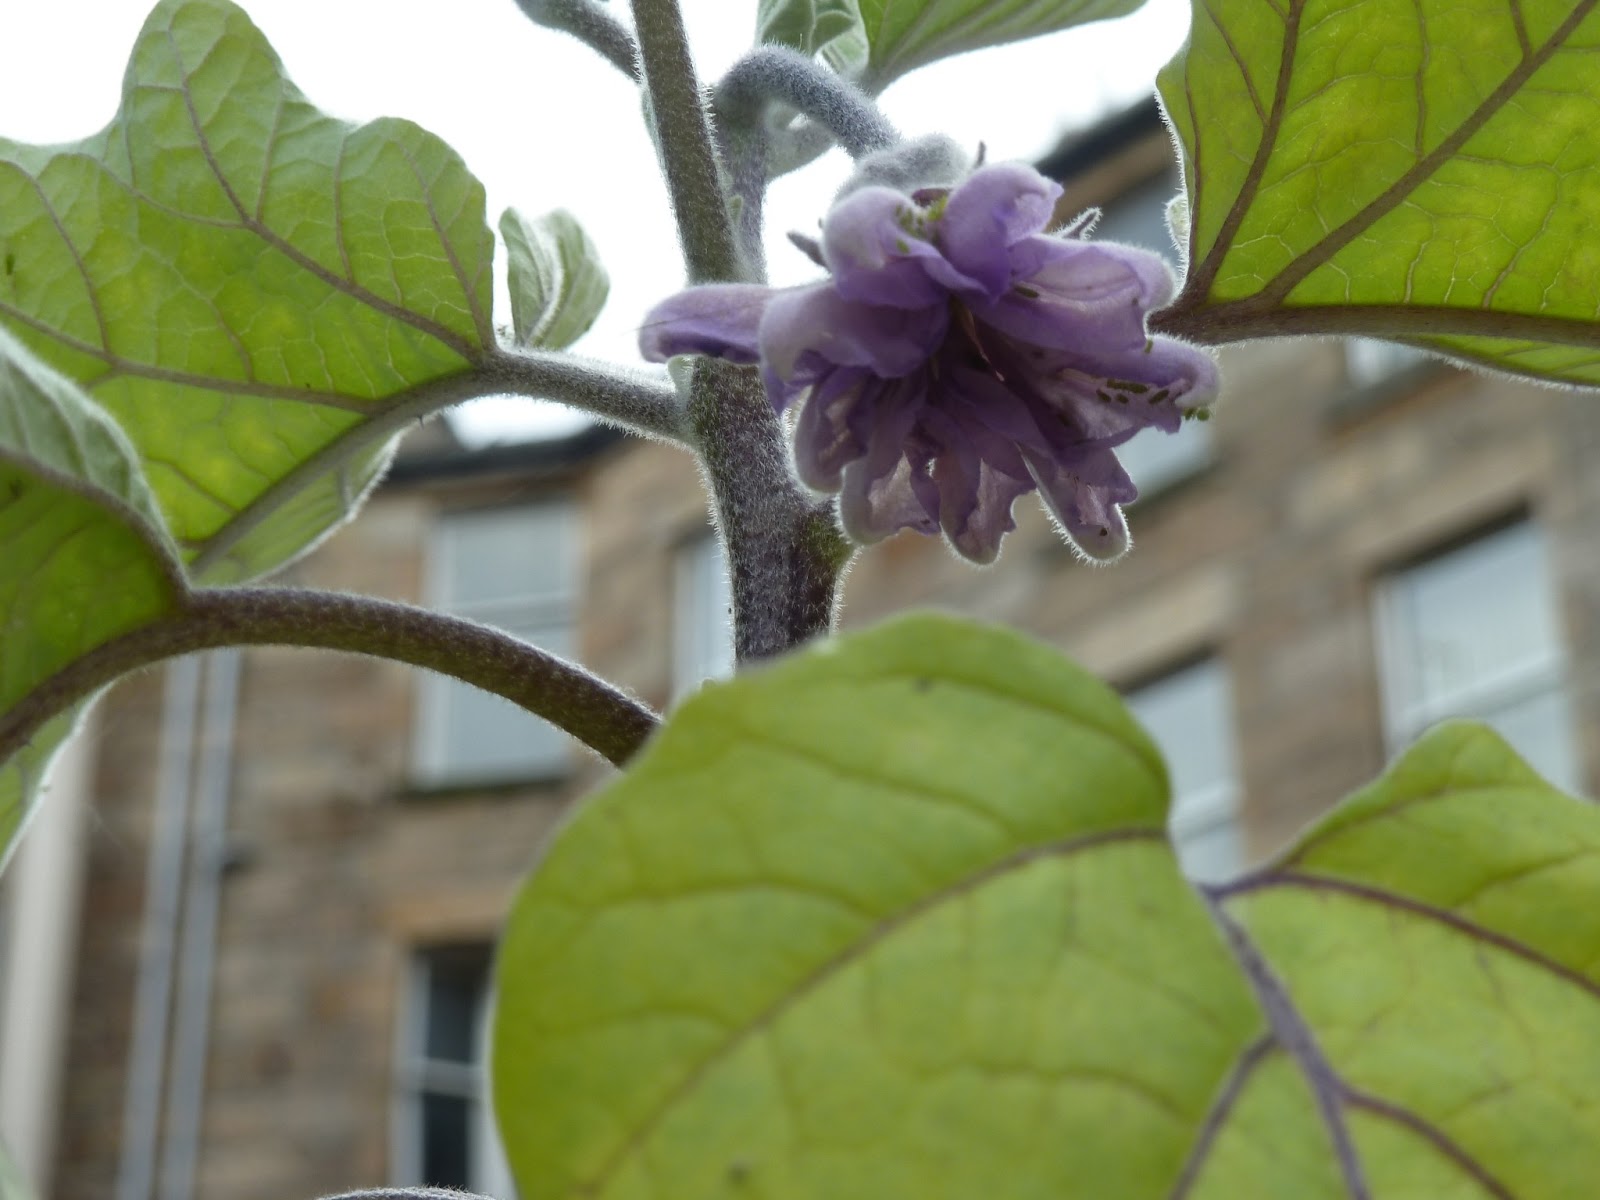

Can you tell I like photography.
I hope you like the show so far and if helps inspire you to join us or just to grow a herb on your windowsill or even if I've put a smile on some ones face.
Watch this space.


Subscribe to:
Posts (Atom)